WP Ghost’s Disable Right-Click feature blocks right-clicking on the frontend to protect content. If you need to allow right-clicking on specific pages (for example, a contact form page, a code documentation page, or pages where users need to copy text), you can add an exclusion filter to your theme’s functions.php file. The filter tells WP Ghost to skip right-click protection on the URLs you specify while keeping it active everywhere else.
When to Allow Right-Click on Specific Pages

Disabling right-click protects content from casual copying and prevents users from easily viewing your page source. However, some pages need right-click to function properly: pages with interactive elements where right-click is expected (maps, custom widgets), code documentation or tutorial pages where users need to copy snippets, contact forms or application forms where users copy-paste information, and e-commerce pages where right-click on product images is part of the user experience.
Step 1: Enable Disable Right-Click in WP Ghost
- Go to WP Ghost > Tweaks > Disable Options.
- Switch on Disable Right-Click.
- Click Save.
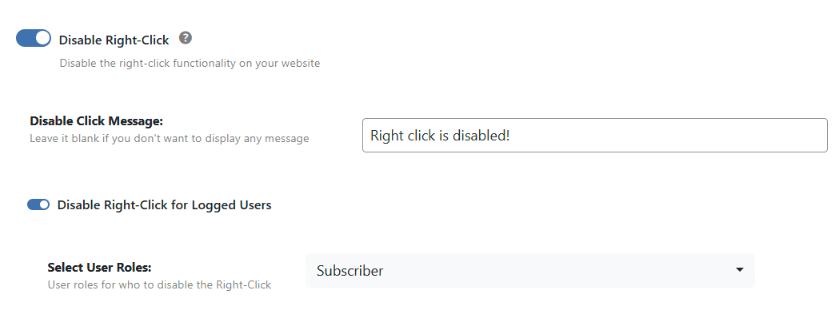
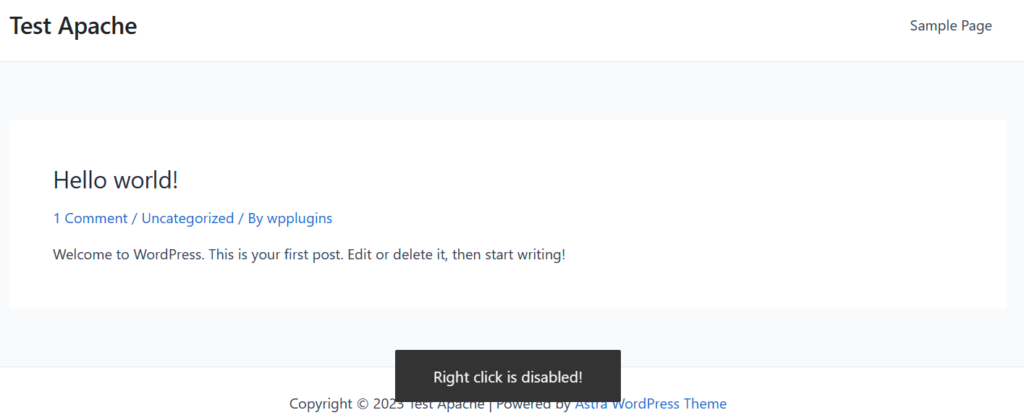
Right-click is now disabled on all frontend pages. The next step adds exceptions for specific pages.
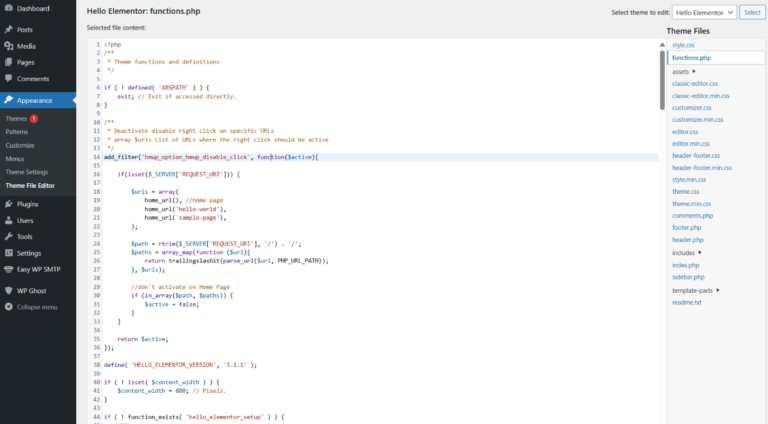
Step 2: Add the Exclusion Filter
Add the following code to your child theme’s functions.php file or a code snippets plugin. This re-enables right-click on the URLs you specify:
/**
 * Allow right-click on specific URLs
 * Modify the $urls array with the pages where right-click should work
 */
add_filter('hmwp_option_hmwp_disable_click', function($active) {

    if (isset($_SERVER['REQUEST_URI'])) {

        $urls = array(
            home_url(),               // homepage
            home_url('contact'),      // contact page
            home_url('documentation'), // documentation page
        );

        $path = rtrim($_SERVER['REQUEST_URI'], '/') . '/';
        $paths = array_map(function ($url) {
            return trailingslashit(parse_url($url, PHP_URL_PATH));
        }, $urls);

        if (in_array($path, $paths)) {
            $active = false;
        }
    }

    return $active;
});
Customize the $urls array with the pages where you want right-click to work. Add or remove URLs as needed, using the home_url('your-page-slug') format.
Use a child theme or code snippets plugin. Adding code to functions.php in the parent theme means your changes are lost when the theme updates. Use a child theme or a code snippets plugin to keep the filter persistent.
Other Disable Features You Can Customize
The same approach works for all of WP Ghost’s disable features. Replace the filter name in the code above with any of these:
hmwp_option_hmwp_disable_click– Disable Right-Clickhmwp_option_hmwp_disable_inspect– Disable Inspect Elementhmwp_option_hmwp_disable_source– Disable View Sourcehmwp_option_hmwp_disable_copy_paste– Disable Copy/Pastehmwp_option_hmwp_disable_drag_drop– Disable Drag-Drop Images
Each filter is independent. You can use a different filter for each disable feature, with different excluded URLs for each one. For example, you might allow right-click on documentation pages but keep Inspect Element disabled on those same pages.
Frequently Asked Questions
Can I disable right-click on only a few pages instead of all pages?
The WP Ghost Disable Right-Click feature is all-or-nothing in the UI. To enable it on only specific pages (instead of disabling it on specific pages), reverse the filter logic: return false by default and return $active (or true) only for the pages where you want it active.
Can users bypass the right-click disable?
Technically, yes. Disabling right-click uses JavaScript, which technically-savvy users can bypass by disabling JavaScript or using browser developer tools. It is a deterrent for casual content copying, not a foolproof protection. For stronger content protection, combine it with Disable View Source and Disable Inspect Element.
Does WP Ghost modify WordPress core files?
No. The right-click disable feature and the exclusion filter both work through JavaScript and WordPress hooks. No core files are modified.
Related Tutorials
Content protection and page-specific settings:
- Disable WP Ghost on Specific Pages – Disable all WP Ghost features on specific pages.
- Change WordPress Paths – Main path security configuration.
- WP Ghost Constants Reference – All wp-config.php constants.