
Replace WordPress-specific class names, IDs, and text strings in your HTML, CSS, and JavaScript with custom values using WP Ghost’s Text Mapping. You’ve changed your paths, hidden version numbers, removed meta tags. But your page source still contains CSS classes like wp-block, wp-image, elementor-widget, and woocommerce-product. Theme detectors don’t just check paths – they check class names. Text Mapping is the feature that replaces those identifiable strings with anything you choose.
What Is Text Mapping?

Text Mapping is a find-and-replace engine for your site’s frontend output. You define pairs: an original text string (like a class name) and its replacement. WP Ghost scans your HTML output and replaces every occurrence of the original with the custom value. It works in HTML by default, and optionally in CSS and JavaScript files too.
For example, WordPress uses class names like wp-block, wp-image-1234, and wp-caption throughout the HTML of every page. Plugins add their own: elementor-widget, woocommerce-product-gallery, yoast-schema. Each class name is a fingerprint. Text Mapping replaces them with custom names like site-block, gallery-img-1234, or even randomly generated strings – so the source code contains no recognizable WordPress or plugin identifiers.
Why You Need Text Mapping
Class names are the fingerprints that remain after everything else is hidden. Here’s why Text Mapping is essential for your hack prevention strategy:
Theme detectors scan class names, not just paths. Tools like Wappalyzer, BuiltWith, and WhatCMS.org maintain databases of WordPress-specific class names. When they see wp-block-image or elementor-section in your HTML, they identify your CMS and plugins regardless of what your paths look like. You can hide every URL on your site and still be identified by class names alone.
WordPress uses distinctive class prefixes everywhere. The wp- prefix appears in dozens of core classes: wp-block, wp-image, wp-caption, wp-embed, wp-element. These are unique to WordPress. No other CMS generates this pattern. A single wp-block class in your source confirms WordPress instantly.
Plugin class names reveal your exact stack. Elementor adds elementor- prefixed classes to every element. WooCommerce uses woocommerce- and wc- prefixed classes throughout product pages. Contact Form 7, Yoast, Gravity Forms – every major plugin has distinctive class patterns. Text Mapping lets you replace all of them.
It’s the final layer of CMS concealment. You’ve changed plugin paths, hidden element IDs, stripped version numbers, and removed HTML comments. Text Mapping handles everything that’s left – the class names and text strings embedded in your page markup that no other feature can reach.
How to Configure Text Mapping
Text Mapping requires a security level to be active and involves five steps: activate a security level, enable the feature, add mapping rules, optionally extend to CSS/JS files, and optionally enable file optimization.
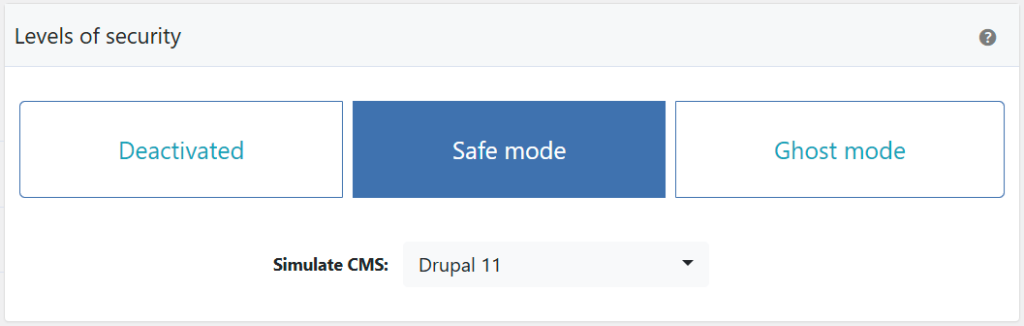
Activate a Security Level
Text Mapping requires Safe Mode or Ghost Mode to be active.
- Go to WP Ghost > Change Paths > Level of Security.
- Select Safe Mode or Ghost Mode.
- Click Save to apply.
Enable Text Mapping
- Go to WP Ghost > Overview > Features.
- Switch on Text Mapping.
- Click Start Features Setup to access the mapping configuration.

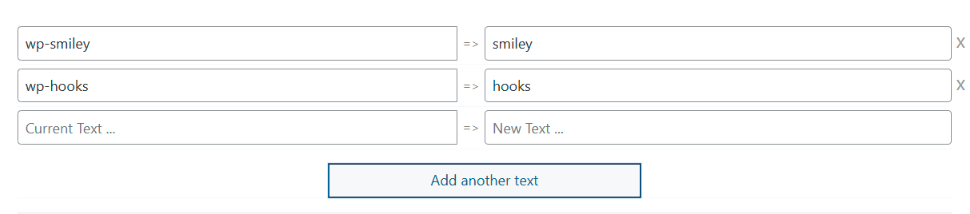
Add Text Mapping Rules
Each rule is a pair: the original class name (left field) and its replacement (right field).
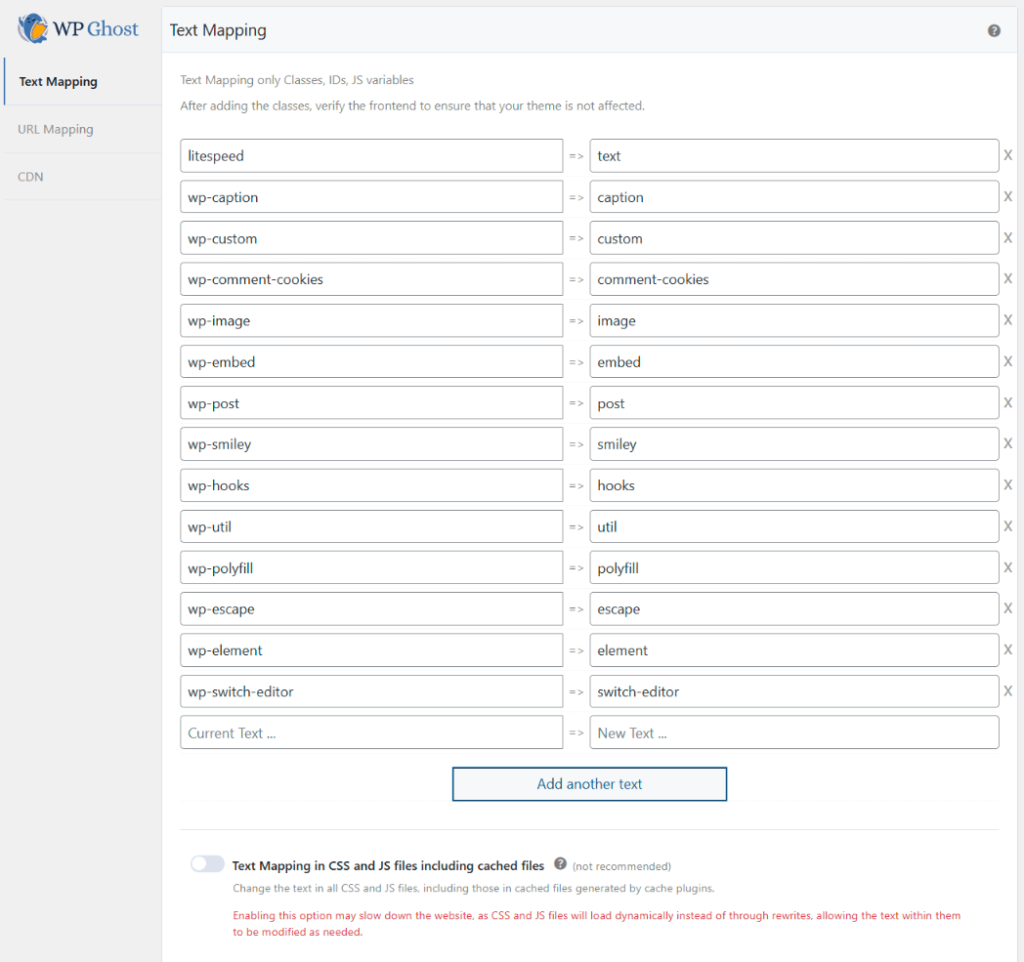
- Go to WP Ghost > Mapping > Text Mapping.
- Identify the class names in your page source that reveal WordPress or plugin identity.
- Enter the original class name in the left field.
- Enter the custom replacement in the right field.
- Click Save to apply.
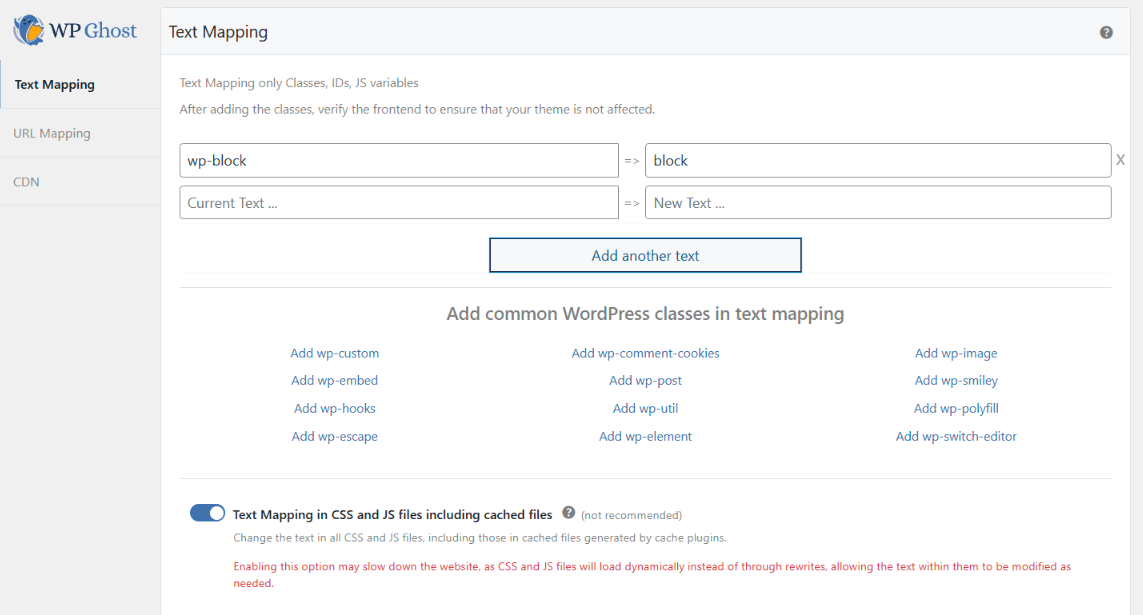
WP Ghost includes a list of predefined WordPress class names that you can add to the mapping with one click. Click any class in the predefined list to add it. Once added, it disappears from the list so you can track which ones you’ve already mapped.
Two special replacement patterns are available:
{blank} – Removes the class name entirely without replacing it. The class attribute stays but the name disappears. Use this when you want to strip the identifier completely.
e.g. wp-block => {blank}{rand} – Replaces the class name with a randomly generated string that changes on every page load. Use this for maximum hiding – scanners can’t build a pattern from random strings.
e.g. wp-block => {rand}After adding rules, verify your frontend to ensure your theme still renders correctly. Then check the page source to confirm the replacements are working. Read more: WP Ghost Advanced Text Mapping.
Enable Text Mapping in CSS and JS Files
Replacing class names in HTML alone isn’t enough if the original names still appear in your CSS and JavaScript files. Plugins like Elementor and WooCommerce use their class names in stylesheets and scripts too. Enabling this option extends Text Mapping to dynamically rewrite CSS and JS files.
- Go to WP Ghost > Mapping > Text Mapping.
- Switch on Text Mapping in CSS and JS files.
- Click Save to apply.

Performance note: This option creates dynamically processed CSS and JS files, which can increase page load time. Use a caching plugin (WP Rocket, LiteSpeed Cache, Autoptimize) to cache the processed files and eliminate the performance impact. See also: Hide Plugins Like WooCommerce and Elementor.
Optimize CSS and JS Files
If you don’t have a caching plugin installed, WP Ghost can apply basic static file optimization: gzip compression, browser caching headers, and content delivery optimization for CSS, JS, and image files.
Note: Only use this option if you don’t have a caching plugin installed. If you use WP Rocket, LiteSpeed, Autoptimize, or similar, they already handle file optimization – enabling both creates redundancy.
- Go to WP Ghost > Mapping > Text Mapping.
- Switch on Optimize CSS and JS files.
- Click Save to apply.

This adds server-level optimizations like gzip compression and browser cache headers to your config file. Test your results with GTmetrix, Pingdom, or Google PageSpeed Insights.
Troubleshooting
Theme layout breaks after adding a mapping rule
Some themes use class names in their JavaScript for element targeting. If you replace a class that JavaScript depends on, the layout or functionality may break. Remove the problematic rule, clear all caches, and test again. When adding rules, do them one at a time and verify the frontend after each one.
Class names still appear in page source
Clear all caches (WordPress caching plugin, CDN, server cache) and test in a private browser. If the classes appear in CSS or JS files but not in HTML, enable Text Mapping in CSS and JS files. If you use a caching plugin, ensure Change Paths in Cached Files is also enabled.
If you’ve lost access or something broke, check the emergency disable guide, use the rollback settings, or add a constant in wp-config.php to disable WP Ghost temporarily.
Frequently Asked Questions
Do I need Text Mapping if I’ve already changed all my paths?
Yes, for maximum concealment. Path changes hide directory names in URLs, but class names embedded in the HTML markup are separate identifiers. A scanner that sees class="wp-block-image" or class="elementor-widget" identifies your CMS and plugins regardless of what the paths look like. Text Mapping addresses the fingerprints that path changes can’t reach.
Why do I need Text Mapping in CSS and JS files too?
If you replace wp-block with site-block in the HTML but the CSS still references .wp-block, two things happen: the styles won’t apply (breaking your layout), and the CSS file still contains the original WordPress class name. Enabling CSS/JS mapping ensures the replacements are consistent across HTML, CSS, and JavaScript.
Will Text Mapping slow down my site?
Text Mapping in HTML has negligible performance impact – it’s a runtime find-and-replace on the output buffer. Text Mapping in CSS and JS files creates dynamically processed files, which can add load time. Using a caching plugin eliminates this: the processed files are cached and served as static content on subsequent requests.
Does this work with WooCommerce?
Yes. WooCommerce uses distinctive class names like woocommerce-product-gallery, wc-block, and woocommerce-loop-product. Text Mapping can replace all of them. When enabling CSS/JS mapping for WooCommerce classes, test checkout and cart functionality thoroughly. WP Ghost is fully compatible with WooCommerce.
Does WP Ghost modify WordPress core files?
No. Text Mapping operates on the HTML output at runtime and on dynamically generated copies of CSS/JS files. The original theme files, plugin files, and WordPress core are never modified. Disabling Text Mapping or deactivating WP Ghost restores all original class names instantly.
Related Tutorials
Complete your CMS concealment with related mapping and hiding features:
- Advanced Text Mapping – Extended patterns and advanced replacement strategies.
- Hide Plugins Like WooCommerce and Elementor – Step-by-step plugin class hiding.
- Change the Plugins Path – Hide plugin directory names in URLs.
- Change the Themes Path – Hide theme names from file paths.
- Hide from WordPress Theme Detectors – The complete guide to defeating scanner tools.