The /wp-content/uploads/ path is a well-known WordPress directory that bots scan to find uploaded files and exploit upload vulnerabilities. Changing its URL makes the uploads directory harder to find. WP Ghost changes the uploads path through rewrite rules without moving any files (recommended), or you can change it at the WordPress level using the UPLOADS constant in wp-config.php (changes where new uploads are stored physically).
Why Change the Uploads Path?

Bots scan /wp-content/uploads/ to find uploaded files, enumerate directory listings, and attempt file upload exploits. The uploads directory often contains the most accessible content on a WordPress site: images, PDFs, and other media files. Changing this path to a custom name removes it from automated scans. Combined with changing the wp-content path itself, the entire uploads structure becomes invisible to bots following default WordPress path patterns.
Method 1: Change Uploads Path with WP Ghost (Recommended)
WP Ghost changes the uploads URL through rewrite rules without physically moving any files. This is the safest approach because deactivating WP Ghost instantly restores original paths with no file cleanup needed.
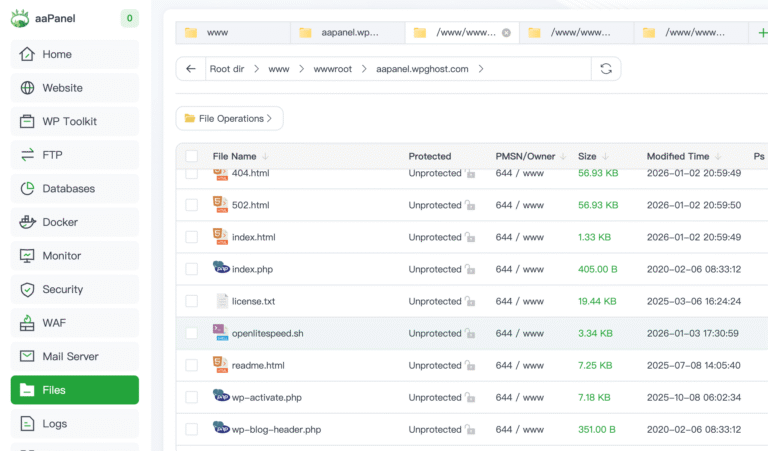
- Go to WP Ghost > Change Paths > Level of Security.
- Select Safe Mode or Ghost Mode.
- Scroll to the uploads path field and enter your custom name (for example,
storage). - Click Save.

Your media files now load from the custom URL (for example, yourdomain.com/storage/) instead of yourdomain.com/wp-content/uploads/. The physical files remain in their original location. WP Ghost handles the URL mapping through rewrite rules.
No files are moved. WP Ghost uses rewrite rules to map the custom URL to the original uploads directory. If you deactivate WP Ghost, all image URLs revert to their defaults. You don’t need to move any media files.
Method 2: Change Uploads Path with Code
You can change the uploads directory at the WordPress level using the UPLOADS constant in wp-config.php. This method changes where WordPress stores new uploads physically.
Open wp-config.php and add the following line before the require_once ABSPATH . 'wp-settings.php'; line:
To keep uploads inside wp-content (for example, /wp-content/storage/):
define('UPLOADS', 'wp-content/storage');To move uploads outside wp-content (for example, /storage/ at the site root):
define('UPLOADS', 'storage');WordPress creates the folder automatically if it doesn’t exist. Existing uploads remain in the old location. Only new uploads go to the new path.
Method 2 doesn’t move existing files. Only new uploads are stored in the custom directory. Existing media files stay in the original /wp-content/uploads/ path. To fully migrate, you’d need to physically move existing files and update database URLs using a search-and-replace tool. Method 1 (WP Ghost) avoids this entirely because it changes the URL, not the file location.
Frequently Asked Questions
Which method should I use?
Method 1 (WP Ghost) for most users. It changes the URL without moving files, works instantly, and is fully reversible. Method 2 (code) if you want to physically separate uploads from the WordPress directory structure for organizational or server-level reasons independent of WP Ghost.
Will changing the uploads path break my existing images?
With WP Ghost (Method 1), no. WP Ghost maps the new URL to the original file location, so existing images continue to work. With the code method (Method 2), existing images keep their original URLs and continue to work, but new uploads go to the new directory. Image URLs in your posts remain unchanged with both methods.
Does this work with a CDN?
Yes. With WP Ghost, the CDN serves files from the custom URL path. Clear your CDN cache after making the change so the CDN picks up the new URLs. With the code method, configure your CDN to include the new upload directory path.
Can bots still access images through the old uploads path?
With WP Ghost, you can block access to the old /wp-content/uploads/ path by enabling Hide WordPress Common Paths at WP Ghost > Change Paths > WP Core Security. This returns a 404 for requests to the old path. See also the Hide Old Image Paths guide for blocking access to old image URLs specifically.
Does WP Ghost modify WordPress core files?
No. WP Ghost uses rewrite rules to map custom URLs to original file locations. No files are moved, renamed, or modified. The code method (Method 2) uses a WordPress constant that changes where new uploads are saved, which is also not modifying core files.
Related Tutorials
Upload and path security:
- Customize wp-content Directory – Change the parent wp-content path.
- Hide Old Image Paths – Block access to old upload URLs.
- Change WordPress Paths – Main path security configuration.
- Change Paths in CSS Files – Ensure cached files don’t expose upload paths.